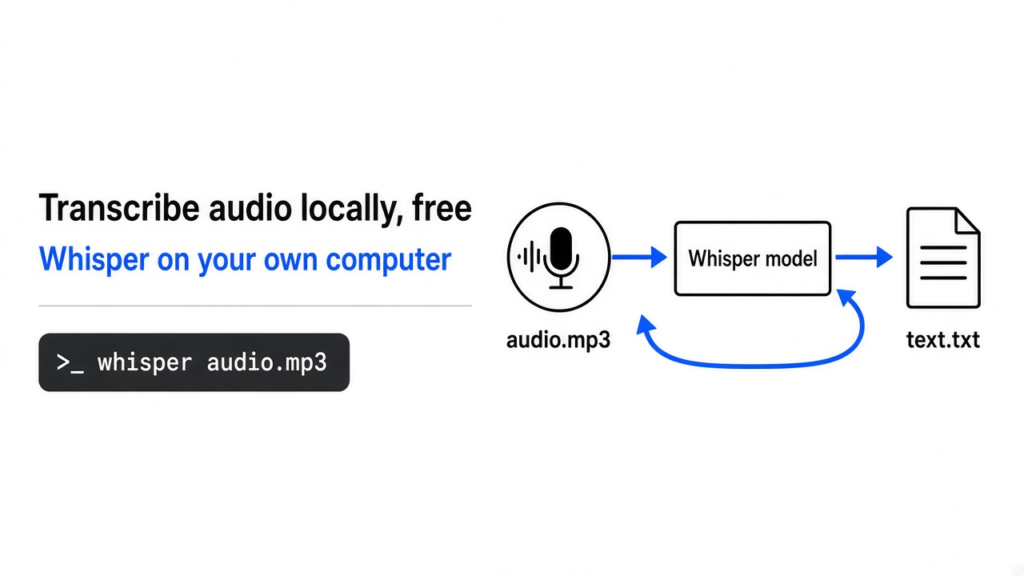
TL;DR: Install whisper.cpp (a free, open source program that runs OpenAI’s Whisper speech model on your own computer), download one small model file, and run one command. You get a text file and a subtitle file, with no upload and no per-minute fee.
On a plain 2-core cloud machine with no graphics card, the base model turned 110 seconds of speech into text in about 17 seconds.
You record a meeting, a lecture or a voice note. You want it as text. Most online tools ask you to upload the file, then charge by the minute or cap the free plan.
That upload is the part worth questioning. Your recording holds your voice, your clients’ names and maybe things you would not email to a stranger. This guide shows how to keep the whole job on your own computer, for free, in about ten minutes.
What does “transcribe locally” actually mean?
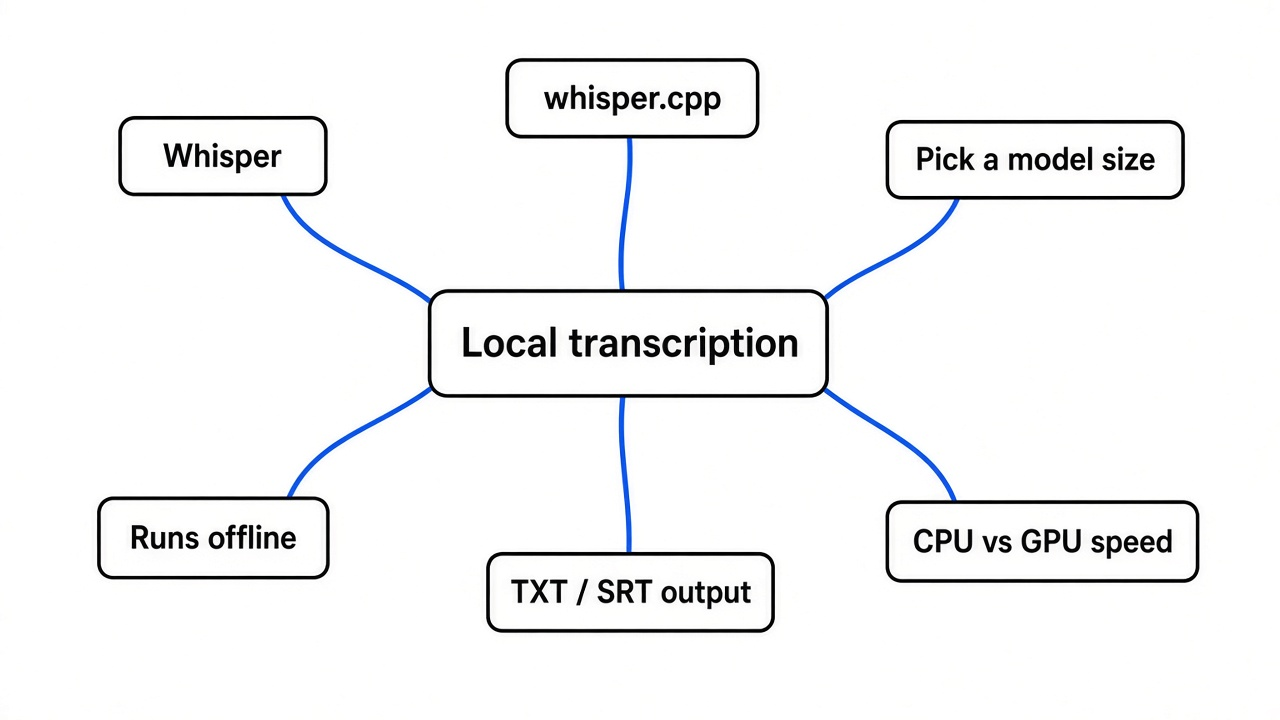
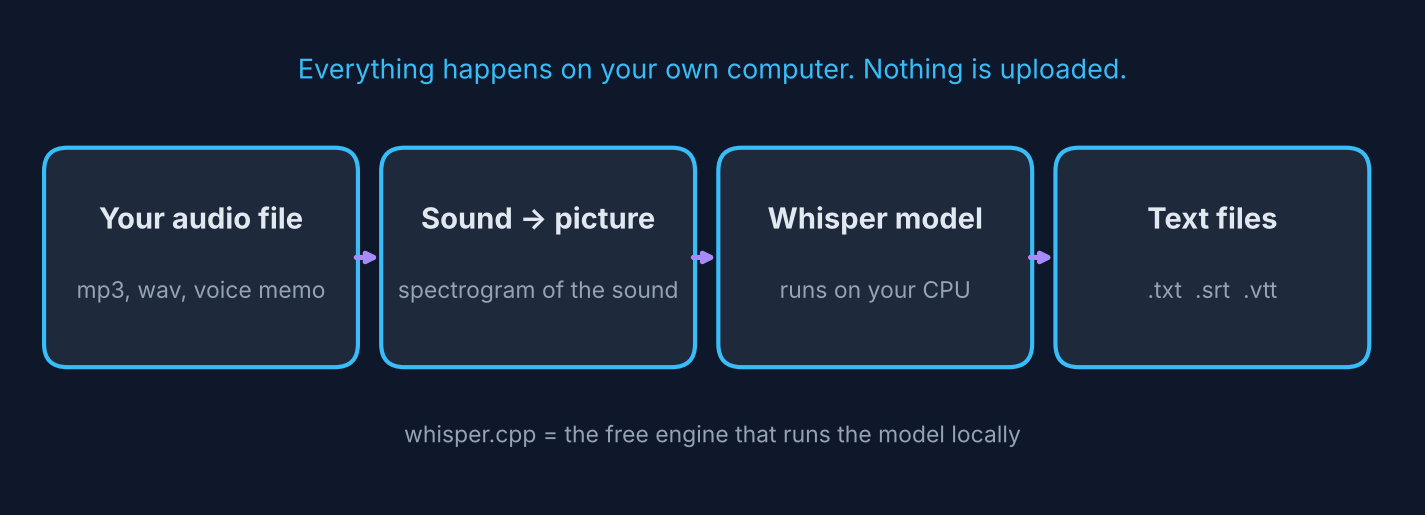
It means the speech-to-text work runs on your machine, so the audio never leaves it.
Start with the simplest fact. Sound is air pressure going up and down very fast, and a microphone saves those ups and downs as numbers. A computer cannot “hear” those numbers the way you do.
So the first step is to turn the sound into a picture. That picture is called a spectrogram (a chart of which pitches are loud at each moment, like sheet music made from heat colors). Speech has clear shapes in it: vowels make bands, and sharp sounds like “s” and “t” make bright streaks.
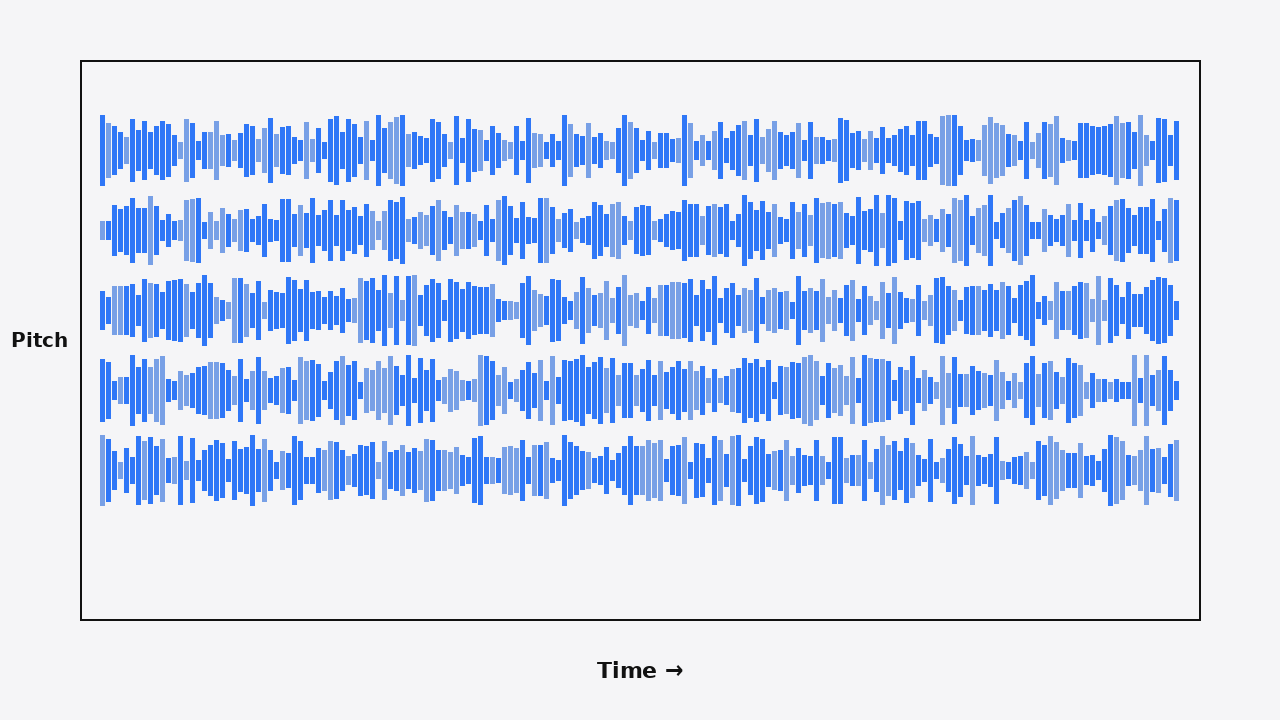
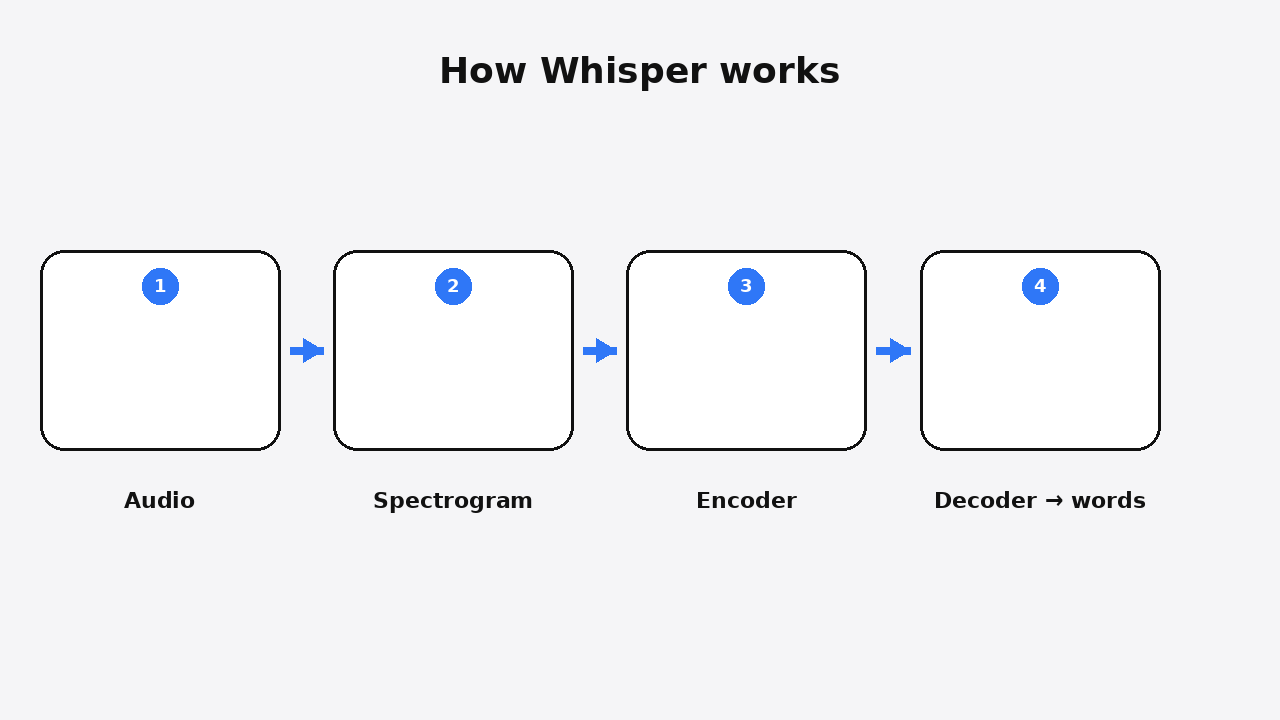
Now the key idea. A speech model (an AI program trained on huge amounts of recorded speech paired with its written text) looks at that picture and predicts which words made those shapes. It learned this the way you learned to read messy handwriting: by seeing thousands of examples.
Whisper is one such model. OpenAI released it as open source under the MIT license (a permissive license that lets anyone use, copy and change it for free, even in paid products). Because the model file is free to download, nothing forces you to use somebody else’s server.
Why use whisper.cpp instead of the original Whisper?
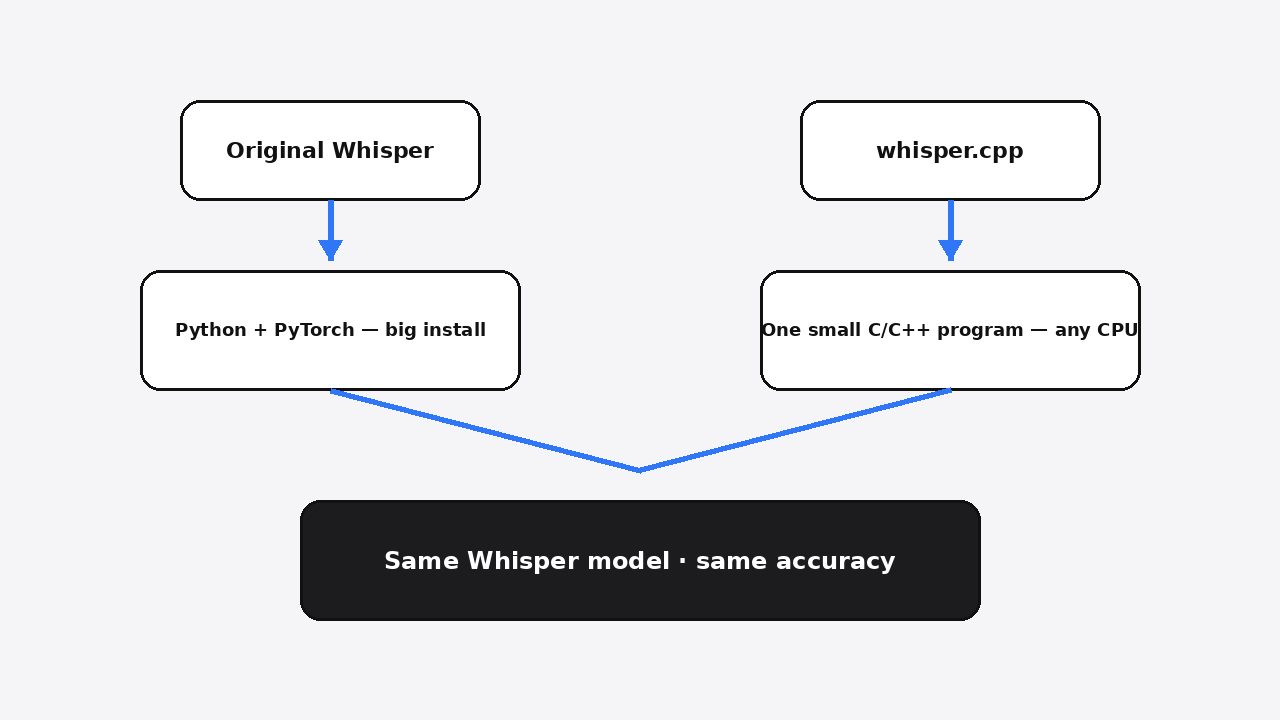
whisper.cpp is a lightweight version that runs fast on ordinary laptops without Python or a graphics card.
The original Whisper is written in Python and leans on PyTorch (a large toolkit for running AI models), which is a heavy install. whisper.cpp rewrites the same model in C and C++ (fast, low-level programming languages), so it compiles into one small program.
That brings three wins. It runs on Mac, Windows, Linux, and even a Raspberry Pi. It uses the CPU (the main chip every computer has) by default, and on Apple Silicon Macs it can also use the built-in graphics chip. And it is MIT licensed, the same as Whisper itself.
How do I set it up?
Get the program, get one model file, run one command.
A quick prerequisite first. A model file is the “brain” the program loads: the learned patterns saved to disk. The program is the engine, the model is the knowledge, and you need both.
On a Mac with Homebrew (a popular free installer for Mac command-line tools), skip building entirely:
brew install whisper.cpp
curl -L -o ggml-base.en.bin https://huggingface.co/ggerganov/whisper.cpp/resolve/main/ggml-base.en.bin
whisper-cli -m ggml-base.en.bin -f your-audio.wav
On Linux, or anywhere you want to build it yourself, you need git and CMake (a tool that turns source code into a program you can run). Then:
git clone https://github.com/ggml-org/whisper.cpp.git
cd whisper.cpp
sh ./models/download-ggml-model.sh base.en
cmake -B build
cmake --build build -j --config Release
./build/bin/whisper-cli -m models/ggml-base.en.bin -f samples/jfk.wav
On my test machine the build took about a minute and a half on 2 cores. The base model download was 148 MB. The folder even ships a short sample clip, so you can check everything works before using your own audio.
How do I turn my recording into text and subtitles?
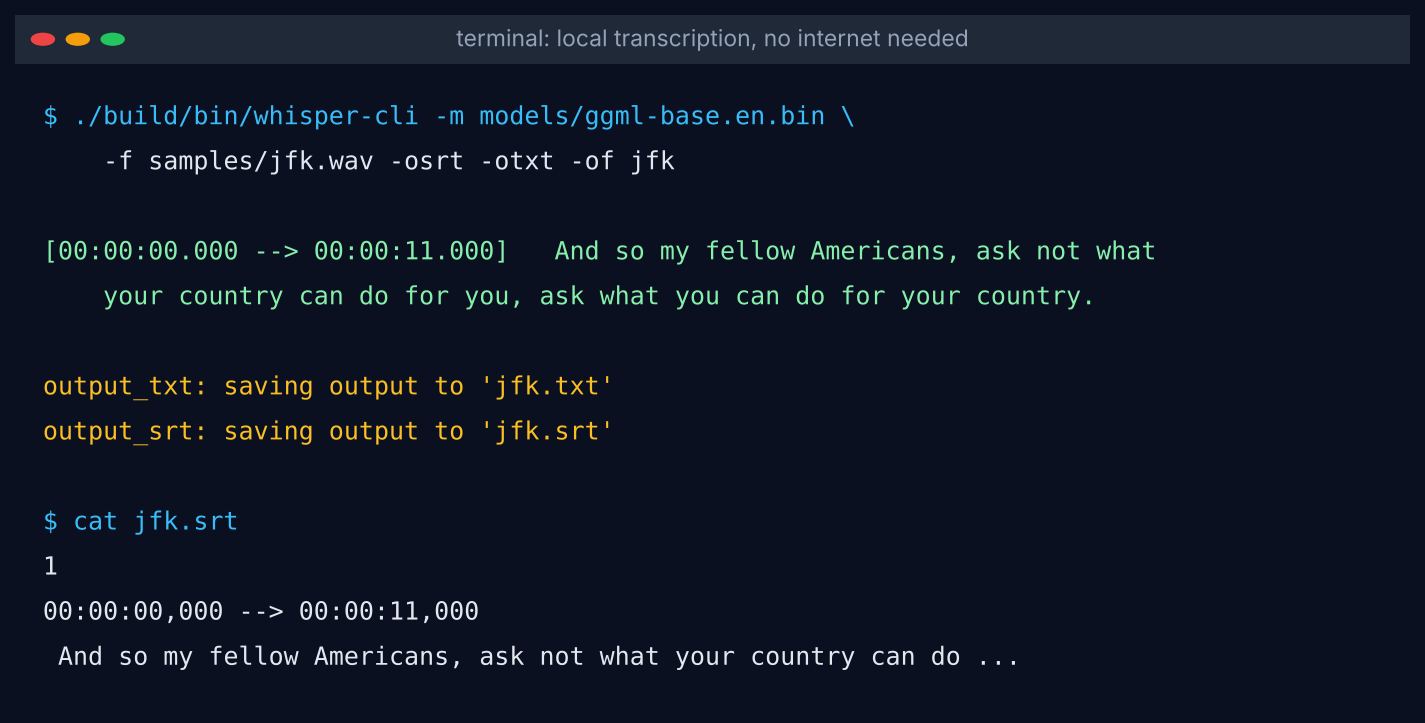
Add three flags and you get a plain text file plus a ready-to-use subtitle file.
Here is the one command I use most, followed by what each piece does.
./build/bin/whisper-cli -m models/ggml-base.en.bin -f meeting.mp3 -otxt -osrt -of meeting
-mpicks the model file.-fis your audio file.-otxtsaves a plain.txttranscript.-osrtsaves an.srtfile (the standard subtitle format video players and YouTube read, with a timestamp for each line).-of meetingsets the output name, so you getmeeting.txtandmeeting.srt.
Want web subtitles instead? Use -ovtt for a .vtt file. Want a spreadsheet? -ocsv gives you one.
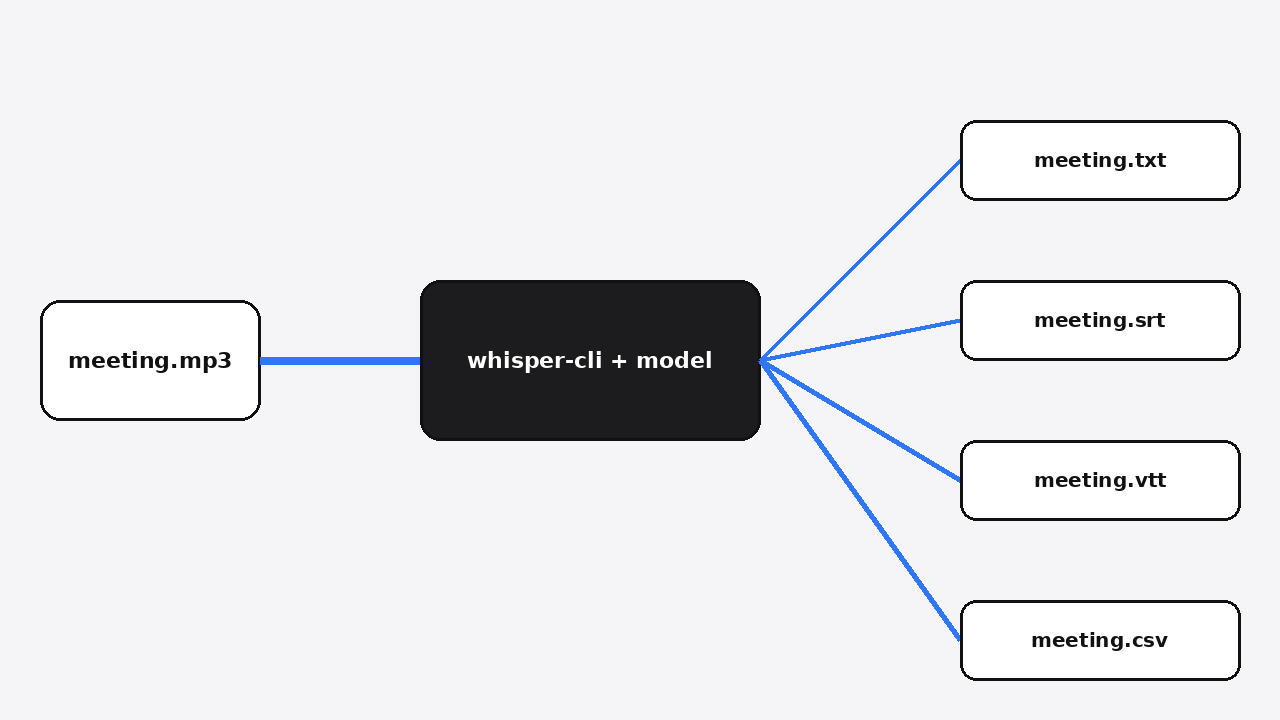
About audio formats. My build read an mp3 straight away. The project’s own guide still says to feed it 16-bit WAV files, so if a file ever fails, convert it first with ffmpeg (a free tool that converts any audio or video format):
ffmpeg -i input.mp3 -ar 16000 -ac 1 -c:a pcm_s16le output.wav
That line means: 16,000 samples per second, one channel (mono), standard 16-bit WAV. That is exactly the shape the model was trained on.
Which model size should I pick?
Start with base.en. Go bigger only if the text has too many mistakes.
Models come in sizes: tiny, base, small, medium and large. Bigger models know more patterns, so they make fewer mistakes, but they need more memory and more time. Think of it like a dictionary: a pocket edition is quick to flip through, a full edition catches rare words.
The .en versions are trained only for English, which makes them sharper on English audio, most of all at the tiny and base sizes. The versions without .en handle many languages. With those, add -l auto and the model detects the language by itself, or add -tr to translate the speech into English text.
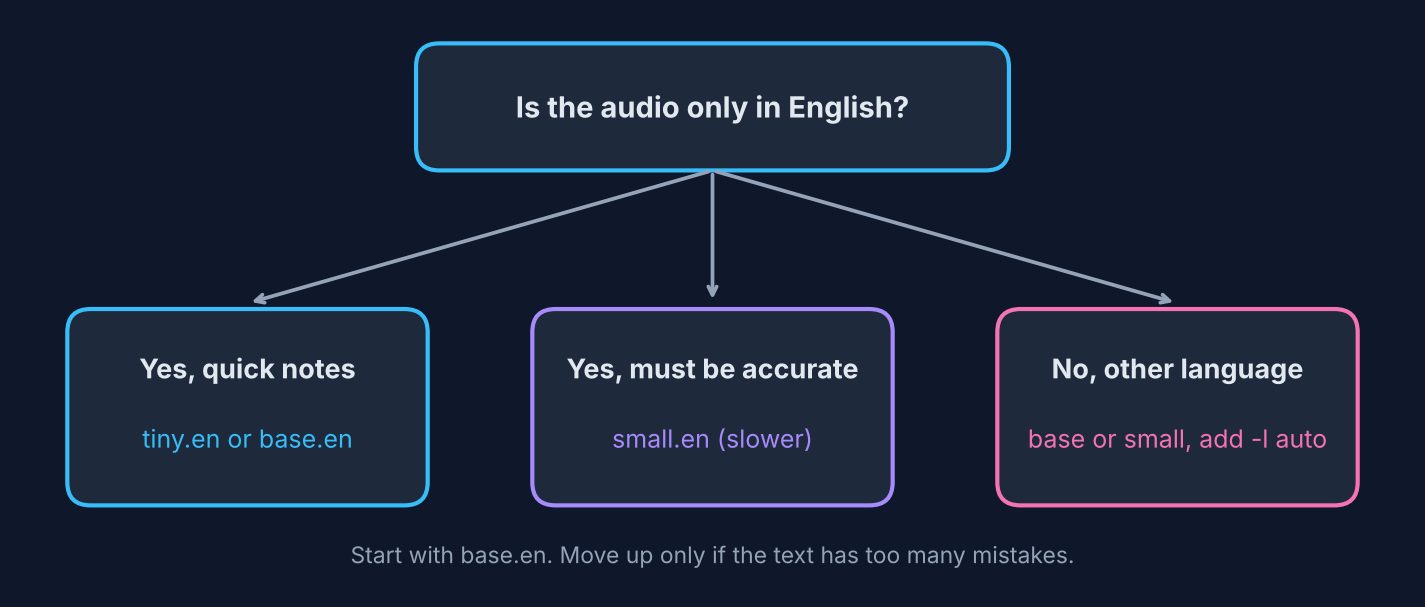
Here are the sizes on disk and in memory, straight from the project’s own table:
| Model | Disk | Memory needed |
|---|---|---|
| tiny | 75 MiB | about 273 MB |
| base | 142 MiB | about 388 MB |
| small | 466 MiB | about 852 MB |
| medium | 1.5 GiB | about 2.1 GB |
| large | 2.9 GiB | about 3.9 GB |
Even the large model fits on a laptop with 8 GB of memory. Speed is the bigger trade-off, which is what I tested next.
How fast is it on a normal computer?
On a weak 2-core machine with no graphics card, every model I tried finished faster than the audio played.
I joined the sample clip ten times into a 110-second file and timed each English model with 2 CPU threads:
- tiny.en: about 10 seconds
- base.en: about 17 seconds
- small.en: about 60 seconds
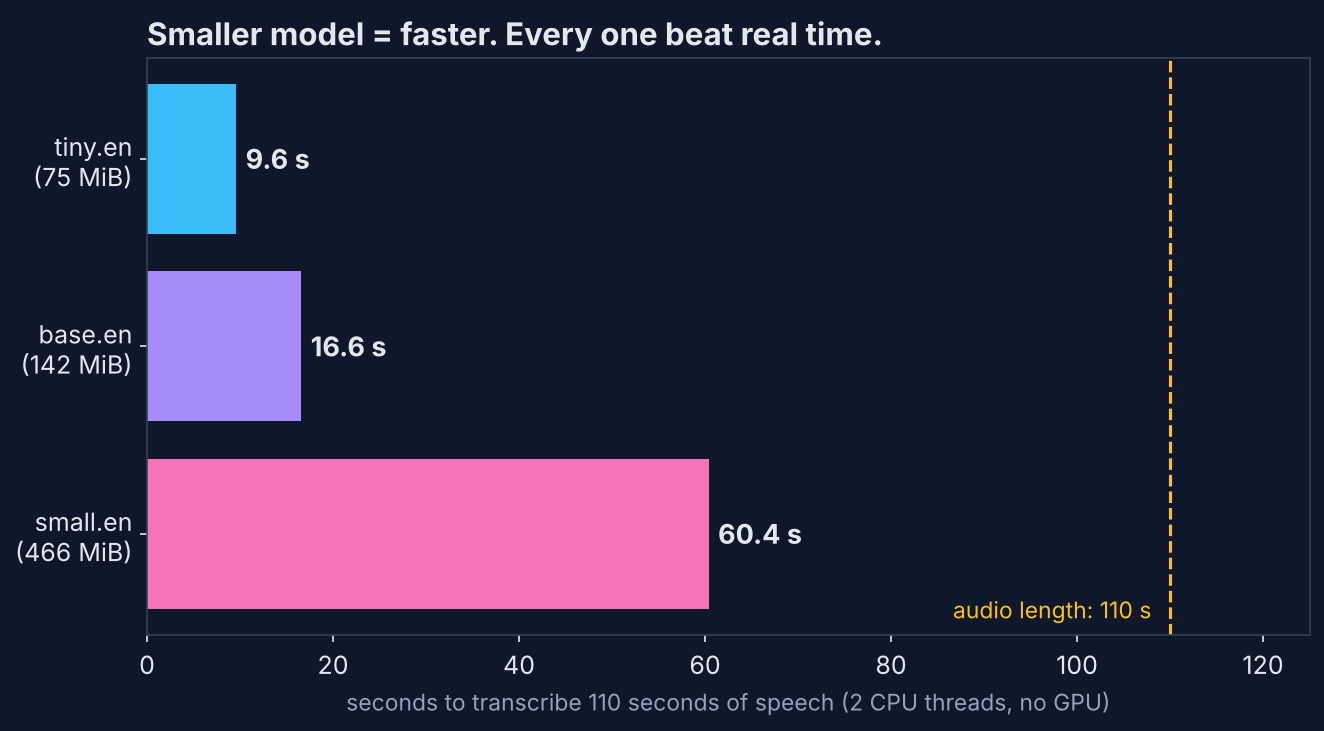
So base.en ran more than six times faster than real time, and small.en nearly twice as fast. A one-hour meeting on base would take roughly ten minutes on this slow machine. A modern laptop with more cores, or a Mac using its graphics chip, will be faster.
One honest catch showed up in the text itself. The tiny model dropped all the punctuation, while base and small kept commas and full stops. If you plan to read or share the transcript, that alone is a reason to skip tiny.
What are the catches?
It is free and private, but you trade a little convenience and you check names by hand.
- No buttons. It is a command-line tool. If you want a window with buttons, free desktop apps such as Vibe are built on top of this same engine.
- Names and jargon slip. Like every speech model, it guesses unusual names and technical terms. Skim the text before you send it.
- No speaker labels by default. It writes what was said, not who said it.
- Silence can confuse it. Long quiet stretches or music can make it repeat or invent a line. The
--vadoption (voice activity detection, which skips parts with no speech) helps, but it needs its own small model file.
None of these cost money, and none of them send your audio anywhere. For most notes, lectures and interviews, that trade is worth it.
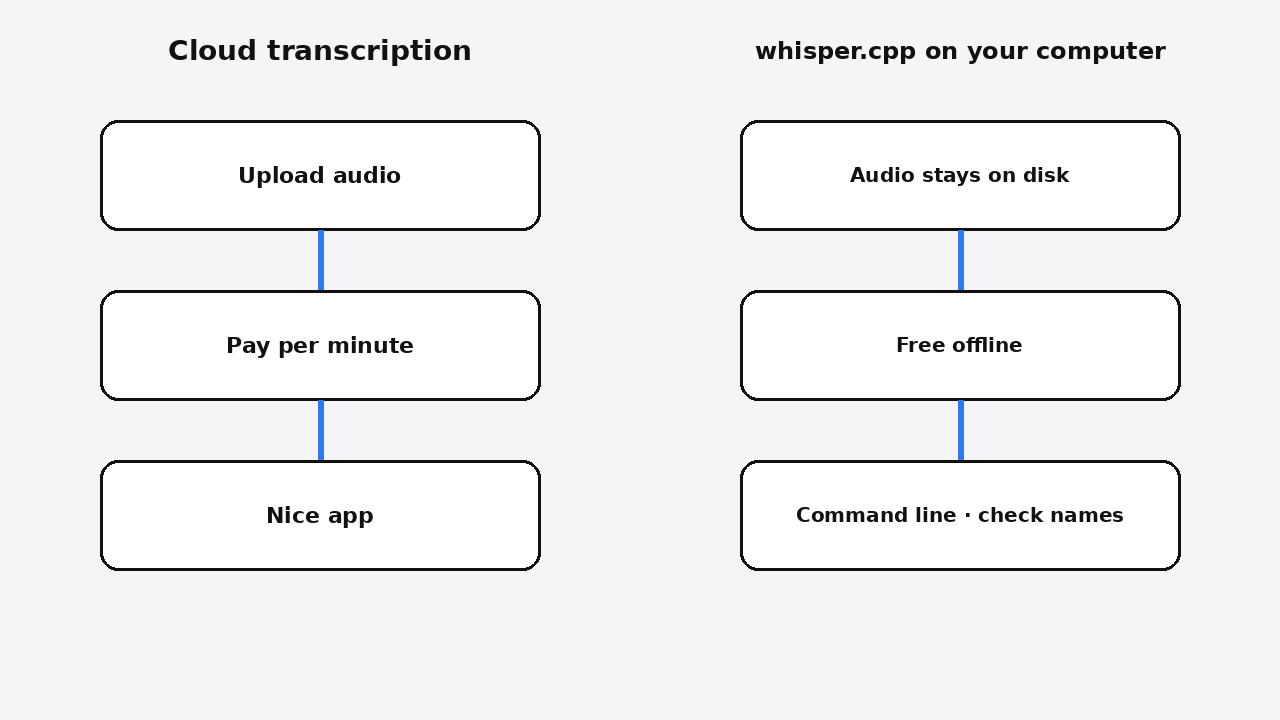
The same keep-it-local idea works for cloning your own voice and searching your Mac files by what is inside them. It also works for converting files without uploading them.
And if you want to try bigger AI models on modest hardware, see whether a 70B model can run on a 4GB GPU.
Common questions about local audio transcription
Is whisper.cpp really free?
Yes. It is open source under the MIT license, and the model files are free to download. There is no account, no subscription and no per-minute charge.
Does it work without internet?
Yes, after you download the program and one model file. The transcription itself runs fully offline.
Can it make subtitles for a video?
Yes. Add -osrt for an SRT file or -ovtt for a VTT file. You can point it at the audio from the video, converted with ffmpeg if needed.
Can it transcribe languages other than English?
Yes. Use a model without .en in its name and add -l auto to detect the language, or -tr to get an English translation.
Your recording never has to leave your laptop. Download base.en, run the sample clip, then try your own file.